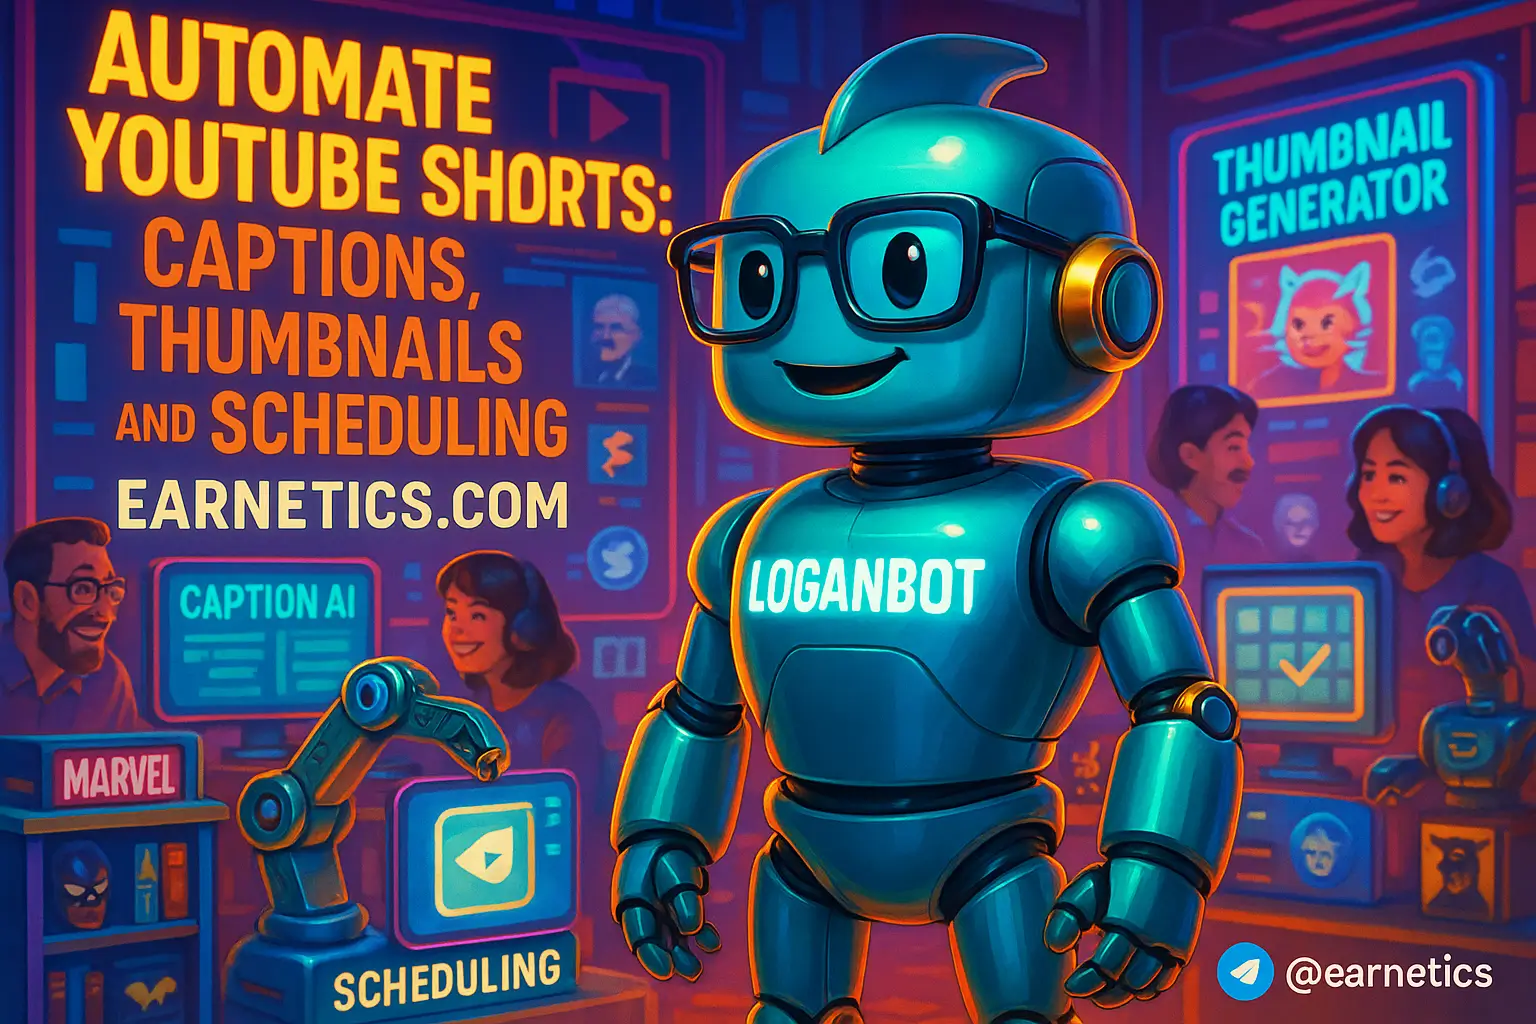
Automate YouTube Shorts: Scale captions, thumbnails, and scheduling without losing your sanity
Automate YouTube Shorts and stop wasting hours on captions, thumbnails, and uploads – publish faster, stay consistent, and win more views without losing your mind.
I said that because I lived it – burning evenings trimming 15-second clips, fixing caption timing, and wrestling with inconsistent thumbnails while my competitors posted three times a day. Shorts rack up billions of daily views and the pressure to publish more is real, so I learned to automate the boring parts. In this article I’ll show you how to automate YouTube Shorts end to end: automated captions, YouTube Shorts thumbnail automation, schedule YouTube Shorts, and full pipeline workflows that actually save time and boost discoverability.
Quick note on the toolbox I leaned on: Descript, AssemblyAI, Otter.ai, FFmpeg, Canva, Kapwing, TubeBuddy, Zapier, Make.com, and the YouTube Data API. I’ll explain when to use each, why burned-in captions sometimes beat uploaded SRTs, how to auto-extract winning frames for thumbnails, and how to queue a week of Shorts in one session. You’ll get step-by-step tactics, best practices, tool recommendations, and a simple automation checklist to implement this week.
Primary keyword: Automate YouTube Shorts. Secondary keywords you’ll see naturally sprinkled: automated captions for YouTube Shorts, YouTube Shorts thumbnail automation, schedule YouTube Shorts, YouTube Shorts automation tools. LSI terms I use: captions, SRT files, transcribe, auto-captions, subtitles, FFmpeg, Zapier, Make, CTR, watch time, metadata, 9:16 vertical frames, batch publishing, content calendar, and automation workflow. Stick with me – I’ll keep it practical and slightly irreverent, because if it’s boring I’m not doing my job.
Automated Captions for YouTube Shorts
Why captions matter for Shorts
I learned the hard way that captions are not optional for Shorts. Most people scroll with sound off on mobile, and captions lift retention like magic. In my early days I posted great clips that got skipped in the first 2 seconds because the message wasn’t readable without audio. Adding captions improved view-through and engagement almost immediately.
Captions also help accessibility and widen reach to non-native speakers. Importantly, transcribed text gives YouTube more context about what you said, which helps the algorithm understand and surface your clip. If you want a primer on YouTube’s caption features, check YouTube’s help pages for accuracy and uploading rules at YouTube Help.
Methods for creating accurate automated captions
There are two main routes: rely on YouTube’s auto-captions, or upload your own SRT files. YouTube auto-captions are fast and free but sometimes sloppy on punctuation, named entities, or niche terms. Uploading SRTs gives control and better timing, especially for quick cuts in Shorts.
Tools I used and when: Descript for quick edits and speaker separation, AssemblyAI or Google Speech-to-Text for highly accurate transcriptions, Otter.ai for cost-effective batch transcriptions, and Rev.ai when accuracy truly mattered and I needed better punctuation. For very short pieces I sometimes used YouTube auto-captions as a first pass, then ran the SRT through Descript for cleanup.
Language detection and named-entity handling matter if you use brand names, slang, or multi-lingual captions. Some ASR tools can auto-detect language; if yours cannot, use a pre-step to tag the file so the right model is applied. For speaker separation in repurposed longer clips, Descript’s speaker labels helped me drop the right lines into each Short.
Best practices and workflow tips
My quick caption editing checklist: timing align to spoken words, max 2 lines per caption, 32 characters per line when possible, and pace captions for a normal reading speed so viewers aren’t scrambling. Also watch for overlapping quick cuts – captions need micro-adjustments on 3- to 5-second clips.
Decide between burned-in captions and uploaded SRTs. Burned-in captions are great for guaranteed readability and brand styling, but they are permanent. Uploaded captions let viewers toggle and let YouTube index the transcript. I usually burn-in for trend reels or when a branded look is essential, and upload SRTs for everything else.
Batch captioning process I used: 1. Export audio batch to cloud, 2. Run through ASR (AssemblyAI or Otter), 3. Auto-generate SRT files, 4. Use small scripts or Zapier/Make to rename SRTs with YouTube-friendly names, and 5. Upload SRTs via YouTube Studio or the Data API. Naming convention that saved my life: channelname_videoid_locale.srt. That made scripted uploads predictable and prevented overwrite chaos.
Creating Click-Worthy Thumbnails Automatically
Thumbnail fundamentals for Shorts (what converts)
Yes, thumbnails still matter for Shorts. While many Shorts are discovered directly in the feed, thumbnails show up on watch pages, in suggested lists, and when your content is repurposed to other platforms. I learned that a solid thumbnail bumps CTR, which then signals YouTube to push the clip harder.
For vertical 9:16 frames, focus on legible text, contrast, and expressive faces. Keep text short – think punchline, not paragraph. Use a consistent brand color or logo placement so people can spot your content in a crowded feed. And always design for tiny mobile screens – if it looks cluttered on my phone, it’s garbage.
Automated thumbnail generation options
Tools that scaled thumbnails for me: template-driven Canva automations, Kapwing API for overlays, Adobe Firefly for AI image tweaks, and custom Stable Diffusion prompts when I wanted surreal thumbnails. For extracting frames I favored FFmpeg to grab the most motion-heavy frame or a frame near a punchline timestamp. Then an overlay script adds text and logo automatically.
Integration examples: Canva + Zapier to apply a template and export, Kapwing API to composite text and logos, or a Make.com flow that takes an FFmpeg-extracted frame, runs an AI filter, and pushes the final PNG into YouTube via API. I automated naming to match video IDs so the upload script could attach the right thumbnail without me babysitting.
A/B testing and optimization at scale
To test thumbnails at scale, I rotated templates and monitored CTR and early watch time. The metrics I watched were click-through rate, 0-15s retention, and how many views converted to subscribers. If a thumbnail got a higher CTR but worse retention, I shelved it – clicks without retention are lying winners.
You can automate experiments by rotating thumbnails across uploads, logging results to a Google Sheet, and triggering template swaps via Zapier/Make. Track performance for at least 7 days before judging – Shorts can spike fast, and early signals matter more than later tail performance.
Scheduling and Publishing YouTube Shorts
Scheduling basics and limitations for Shorts
YouTube Studio lets you schedule uploads with metadata fields like title, description, hashtags, visibility, and publish time. For Shorts, keep titles punchy and put primary keywords or hooks in the first few words. Hashtags still help discoverability – use a mix of broad and niche tags.
Understand Shorts discovery windows – early performance in the first 24 to 48 hours matters most. A consistent posting cadence helps the algorithm learn your channel’s audience. I found that a predictable schedule allowed the system to reward me with stronger initial impressions.
Third-party schedulers and API-based automation
Third-party tools I used: TubeBuddy and VidIQ for scheduling and bulk metadata edits, Hootsuite or Buffer when I was cross-posting to other platforms, and custom scripts using the YouTube Data API for advanced needs. TubeBuddy’s bulk process saved me hours when updating pinned comments or applying tags across a batch of Shorts.
For automated uploads, my usual pattern was cloud storage + Zapier/Make trigger. Store the exported video in Google Drive, push metadata via a template, and let the YouTube API handle the rest. This works well when you have a CMS feeding weekly content, and it eliminates manual uploads on release day.
Batch publishing workflows and calendar planning
Build a Shorts content calendar: plan hooks, scripts, and batch production days. My flow: film for two hours, edit for two hours, and queue a week of uploads in one session. Use metadata templates for titles, hashtag sets, and a standard pinned comment to keep your SEO consistent.
Automate metadata templates so each upload inherits a primary keyword, 3-5 niche hashtags, a default pinned comment, and the CTA you want. Hook this into analytics so your scheduler suggests optimal times based on past engagement – simple automation that nudges posting times can lift performance noticeably.
Tools and Workflows to Automate YouTube Shorts End-to-End
Recommended tool stack by function
My recommended stack by job: Capture & edit – CapCut, Descript, Premiere Rush; Captioning – Descript, Otter.ai, Rev.ai; Thumbnails – Canva, Kapwing, Adobe Firefly; Scheduling – TubeBuddy, VidIQ, or the YouTube Data API; Automation – Zapier, Make.com. Pick tools based on budget, team size, and technical comfort.
If you are solo and cheap – use Descript, Canva, and TubeBuddy. If you have a team or dev chops – invest in the YouTube Data API plus Make.com or custom scripts for full control. I chose a middle path: no heavy dev work, but enough automation to save me 10-20 hours a week.
Building an automated pipeline (example flow)
Here’s the pipeline I used and refined: record → auto-transcribe → edit captions → auto-generate thumbnail → export to cloud → trigger scheduler → publish → pull analytics. Insert quality checks after edit and before publish for two things: caption accuracy and thumbnail clarity. Those checkpoints keep quality high while letting automation do the grunt work.
Implement step triggers in Make or Zapier so that once a file lands in a folder, the chain runs: ASR processes, thumbnail engine creates images, metadata template populates, and the scheduler queues the upload. That single push saved me from manual repetition and freed me to create more stuff.
Monitoring, analytics, and iterative improvement
Automate reports for CTR, average view duration, retention, impressions, and subscribers gained per Short. I used Looker Studio dashboards fed by API pulls, and set Slack or email alerts for big dips or spikes. Automated monitoring helped me spot bad captions, low-performing thumbnails, or posting times that tanked engagement.
Use these metrics to iterate. If retention drops at 6 seconds, trim the intro or reposition the hook. If CTR is low, test a new thumbnail template. Automation scales your output – analytics and human judgment keep it from becoming a content factory that nobody watches.
Conclusion
Automate YouTube Shorts and you reclaim hours, improve consistency, and let your creative work matter more than the admin work. The big wins I saw: automated captions boosted accessibility and search signals, thumbnail automation kept my branding consistent and CTRs climbing, and scheduling let me hit the discovery windows like clockwork. The tools and workflows I described tie those wins together into a repeatable system that doesn’t require constant babysitting.
Quick implementation checklist to get started: 1. Choose core tools – pick one captioning tool, one thumbnail tool, and one scheduler, 2. Create templates for captions and thumbnails, 3. Set up a simple automation in Zapier or Make that creates an SRT, generates a thumbnail, and queues an upload, 4. Run a 30-day test with consistent cadence, 5. Measure CTR, retention, impressions, and subscriber conversions and iterate.
Balancing automation and quality is the subtle art here. Keep human review for captions and the final thumbnail check – those are quick wins that prevent embarrassing transcription fails or ugly thumbnails. Use automation for repetitive, predictable tasks and let your creative instincts handle the rest. Start small – captions or scheduling first – and scale once KPIs move.
⚡ Here’s the part I almost didn’t share – automation doubled my output and freed me to test riskier creative hooks. If you feel overwhelmed, pick one task to automate this week. I started with captions and it paid for my monthly tool bills within two weeks.
Explore more guides on Earnetics.com
🚀 Still curious? When I hit a wall, automation saved me. My hidden weapon is Make.com – and you get an exclusive 1-month Pro for free.
✨ Want the real secret? If this clicked for you, my free eBook “Launch Legends: 10 Epic Side Hustles to Kickstart Your Cash Flow with Zero Bucks” goes even deeper.
Final step – commit to one automation this week and measure weekly. You’ll either win time or learn fast. Either way, you’re moving forward. Build your digital income empire today on Earnetics.com.